Quick jump |
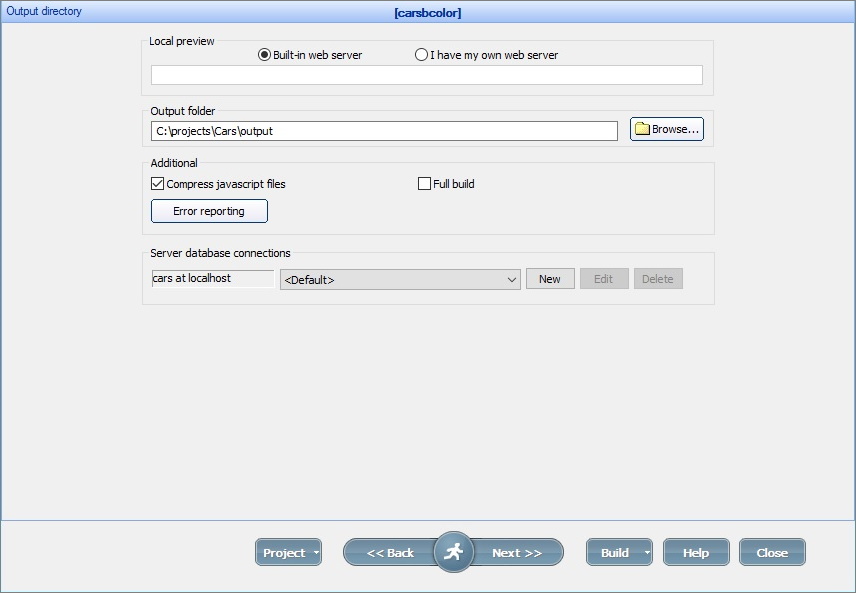
The Output directory screen allows you to select the output directory and configure additional settings.
Preview
PHPRunner comes with a built-in web server (Apache).
In most cases, you can leave the default settings unchanged, click Build and proceed to View in browser on the next screen.
Note: the built-in web server doesn't interfere with your existing web server if you have one.
If you want to view the generated application using your web server, switch to I have my own web server option and enter the URL manually.
You should change the output directory as well to one of the web server subdirectories (i.e., C:\xampp\htdocs\project1 if you use XAMPP).
Note: if you don't have a web server and want to install one, see How to install local server.
Select the Full build checkbox to perform a full build of the project. Otherwise, the partial (faster) build is performed.
The Compress javascript files option allows compressing the generated JavaScript files leading to faster load times. Unless you need to debug the JavaScript code, leave this option on.
You can create several database connections and select the required one before building the project. For example, you can use the <Default> database connection for local testing and create a new database connection for uploading files to the production server.
To create a new database connection, click the New button. Then specify the connection name and settings. Click OK.
If you are using MySQL locally, you can configure the connection settings like this:
$host="localhost";
$user="root";
$pwd="";
$port="";
$sys_dbname="cars";
When uploading files to the server, you may use the following settings:
$host="localhost";
$user="mike375";
$pwd="dcHd*eS2";
$port="";
$sys_dbname="mike375_cars";
Note: you can't use any code in your connection settings.
How to set local time on a built-in web server
To set the timezone on your local machine when using the built-in web server, you need to adjust the timezone parameter in C:\Program Files\PHPRunner10.91\EmbeddedServer\php\php.ini.template file.
1. Open the file C:\Program Files\PHPRunner 10.91\EmbeddedServer\php\php.ini.template.
2. Find the line.
date.timezone = 'UTC'
and modify the timezone, for example:
date.timezone = 'EDT'
3. Save the file and restart PHPRunner.
You can find the timezone abbreviations at http://www.timeanddate.com/library/abbreviations/timezones/.
See also: